
Home Brew Beer: Everyday IPA Beer
I’ve been wanting to brew my own beer for quite awhile now; I just like seeing how things work, and trying to do it myself. So when I received a Brooklyn BrewShop Beer Everyday IPA beer brewing kit for Christmas from my awesome wife, I knew that this would be a treat to myself after I dropped some weight! But then I thought, I should turn this into something for the blog, how about a monthly beer brewing series?!
After I got my first batch going, I reached out to Brooklyn BrewShop to see if they’d like to partner up for this series, and they were just as excited about it as I was! So with my next batch brewing (I’ll get into that later) let’s get into my first brew!
Beginning with Everyday IPA
So the first batch that I made using the Everyday IPA kit. It comes with everything you need, the mash, hops, a 1 gallon jug. I also picked up some bottles, bottle caps and a capping kit. I was all set and ready to go!

Brewing the beer was a really cool process, it’s almost therapeutic, since it takes time, and attention to detail. I wish I had taken photo’s while brewing the beer, since it’s a really cool process, but I hadn’t anticipated blogging about this until after I had it fermenting, (so expect more of that in later posts). The hops hit my nose the second I opened the package and it smelled exactly how you’d imagine an IPA would taste like. Getting the hops brewing in the mash liquid for an hour it was time to filter into the jug.
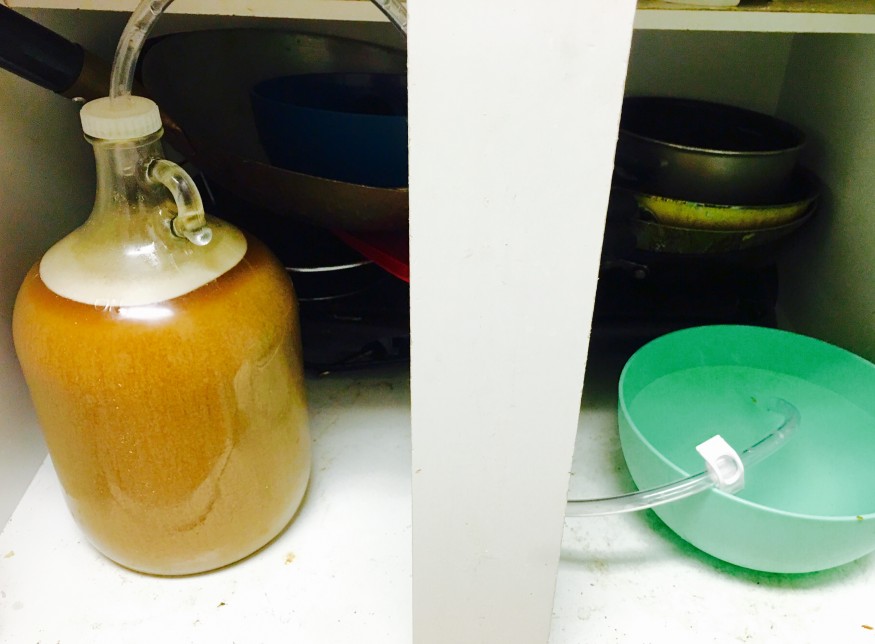
If you’ve never brewed your own beer, the first 8 hours are pretty entertaining to peek in and watch, it’s constantly bubbling, frothing, and fizzing. Living in a smaller apartment, it was hard to find a free dark spot to store for a month, so we had to store it in the cupboard with the pots and pans. Whatever works!
Bottling and Waiting
The first 2 weeks were done, and then it’s time to bottle! I kept my bottles in the same spot and let the sit for a little for the 2 weeks, then a week after I finally got around to getting my fridge cleaned out enough so that I could store them. For all your first timers, learn from me: BAD IDEA! 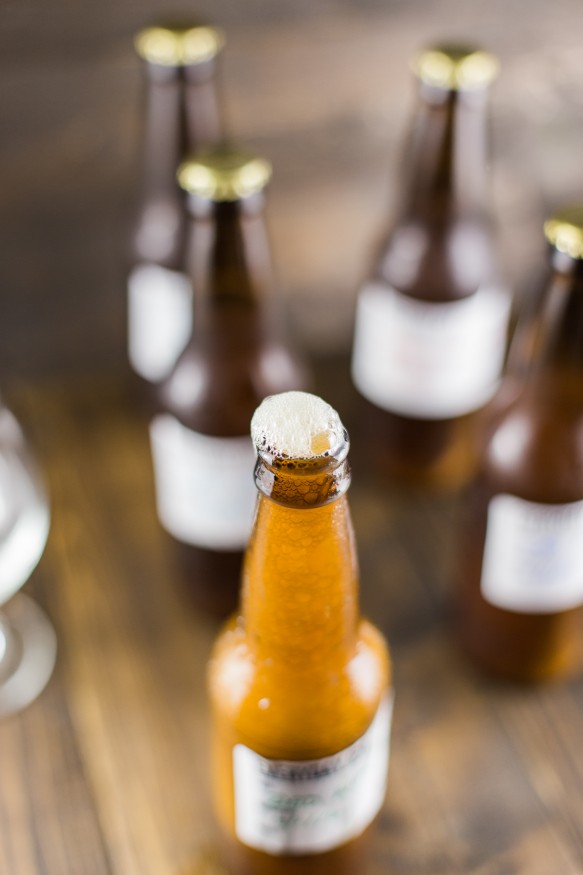
What I found out after the fact (and if I had researched just a tad more) is that After about 2 weeks of fermenting in the bottle, you’ll need to get the beer in a location that’s under 55°F to stop the fermentation process. That or my priming sugar (honey and water mix) was too much in each bottle.
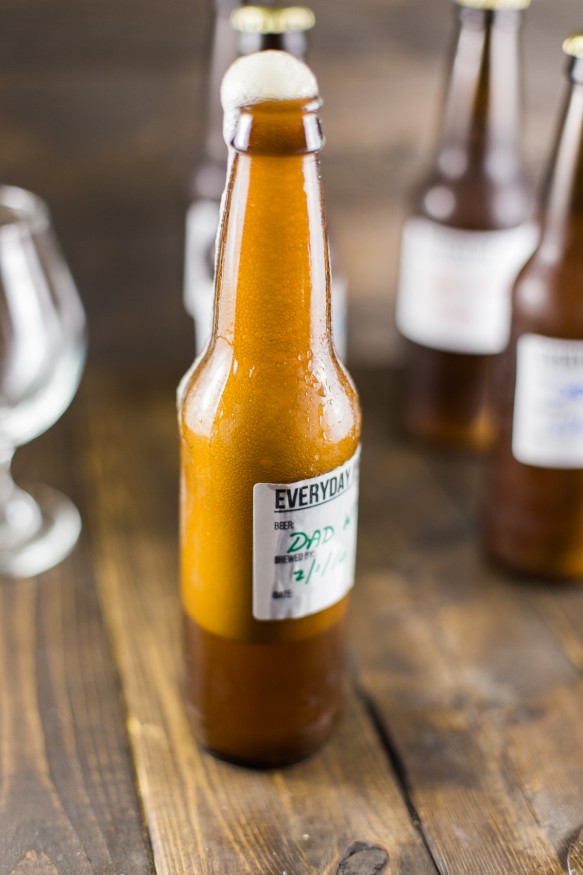
This didn’t ruin the beer, just makes it tricky to pour, and a lesson learned for my next batch. I’ve found a couple tricks online on how to fix an over-carbed beer, relieving a little pressure at a time, one that talks about keeping the beer colder than normal. Two tricks I will try with the rest of the batch and update when with what I learned.
IPA Flavor
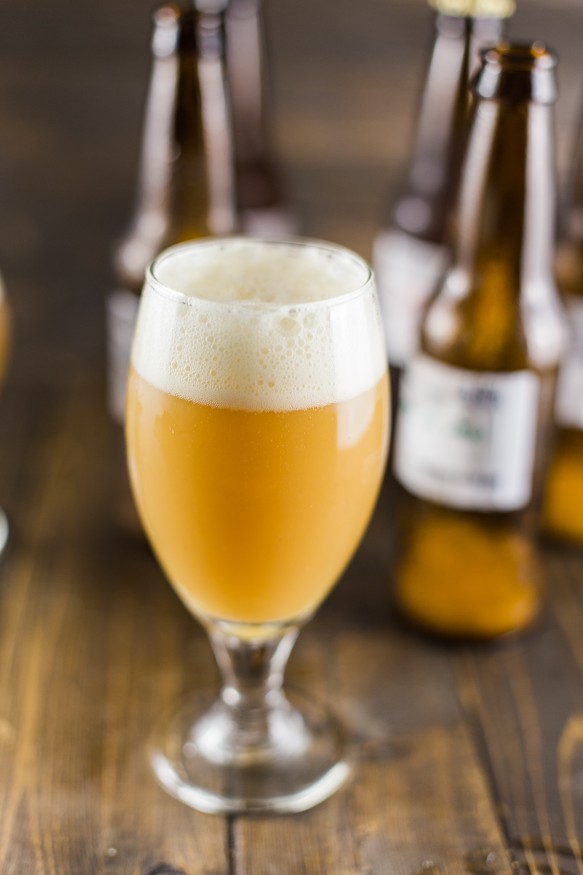
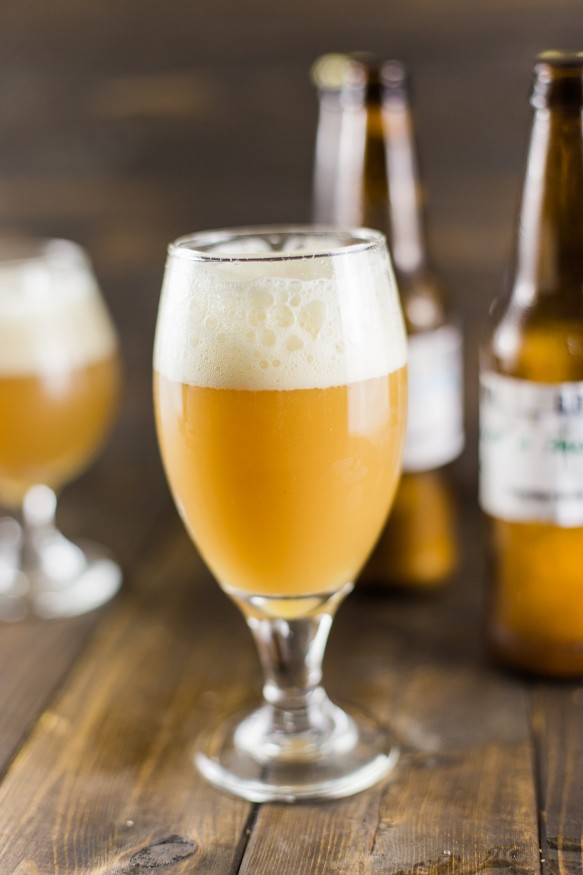
So other than the over-carbonation hiccup, I was super happy with this beer. It’s nothing stand-outish for an IPA, but with a name like “Everyday IPA” I would expect it to just taste like a standard IPA.
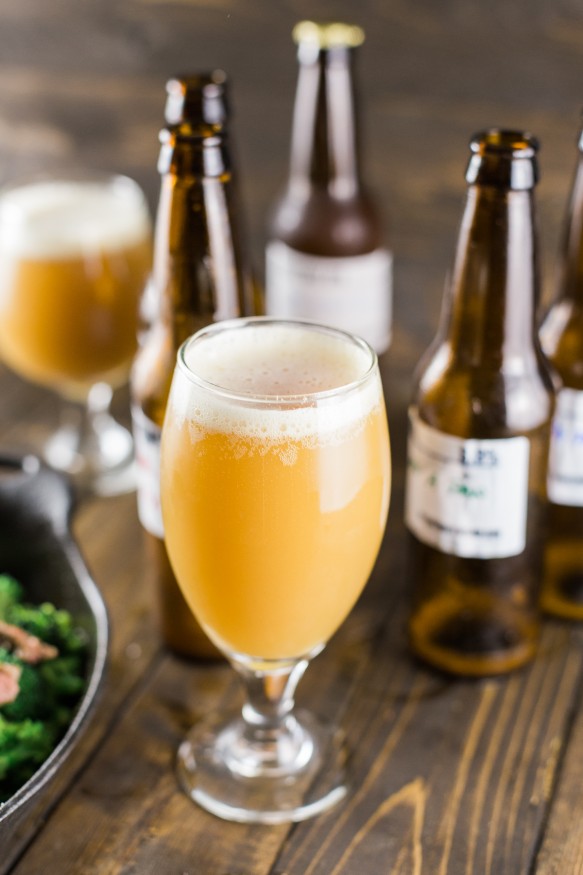
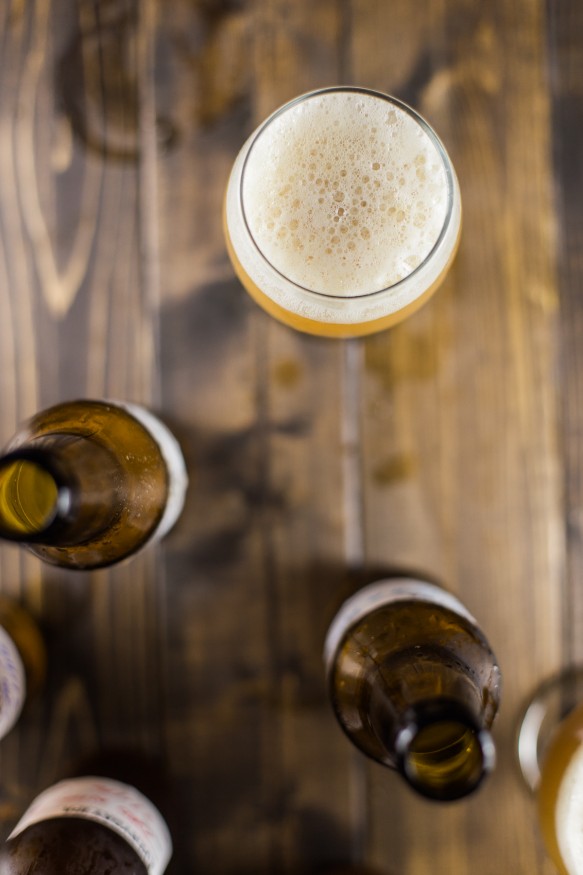
As you can see the body is really golden, and almost hefenweizen-esque. You get the citrus-y hop notes on the nose and it leans more towards the sweeter side of an IPA that I’ve had, I’m not too sure if this is what was expected, or maybe something I may have done during the brew process. It is something I can easily drink a few bottles of without getting too fatigued on the flavor.
Pairing with the Everyday IPA
So for dinner to pair with the IPA, I decided to grill up a couple steaks and put it on top of some grilled broccoli. For the steak I seasoned with about 1 tsp salt, 1 tsp pepper, 1 tsp garlic salt, and rubbed in about 1 tbsp of mustard and 1 tbsp Worcestershire sauce. Using my grilled broccoli recipe, and cut the steak into strips and placed right on top of the broccoli.
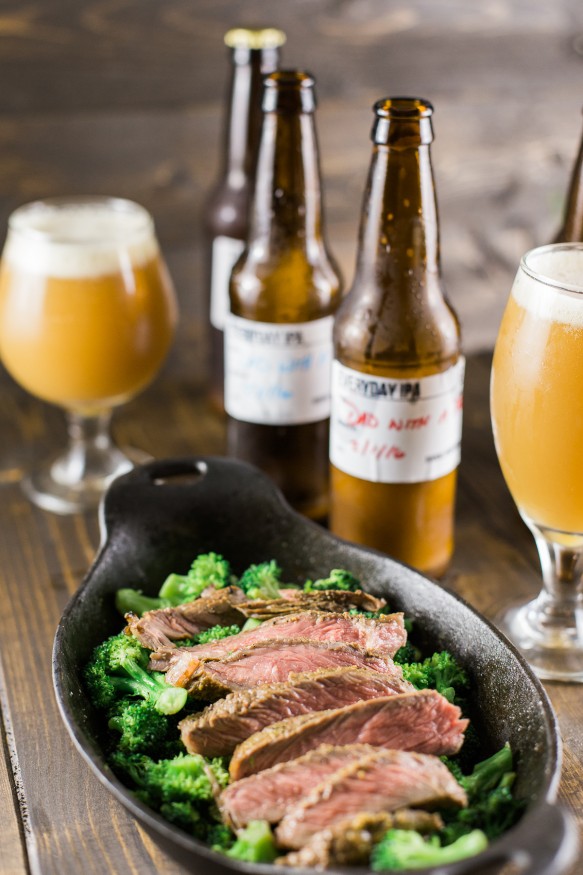
It really paired up with with the bold IPA flavors from the savory grilled beef. The fact that I didn’t have any potatoes and bread made me feel a little better about downing a few beers with dinner while on my diet. Gotta keep that caloric deficit going even on cheat day!
The flavor was amazing, and at the 6.8 Alcoholic content, after about 2 I was feeling pretty nice. I had to stop there, because I’m planning on sharing with the team at work and getting some of their thoughts.
The Next Batch
So on to the next batch! Like i said earlier, I started this on my own, and was so impressed with the Brooklyn BrewShop kits that I reached out to them to see if they’d be interested in partnering up for this series. I received my first kit from them and will brewing a Honey Grapefruit Ale in the next post in this series, with more process photos, and hopefully a successful tweak to the mix, so stay tuned for that!
I really enjoyed brewing my own beer for the first time. I anticipate tweaking some Brooklyn BrewShop Mixes in the future so let me know in the comments which mix you’d like me to try!

2 Comments
[…] caught my eye and I had to make it. It is a very simple dip to put together – using my homemade beer, and lots of cheese (two of my faves) and is a very flexible recipe to put […]
The beer turned out great Derek and I love the pairing with the beef and broccoli! Great photos as well!