How I Quarter A Chicken (And Break It Down)
Chicken can get expensive, and learning how to properly quarter a chicken is essential if you are looking to get the best bang for you buck.
I’ll never forget the first time I was asked to quarter a chicken. I was 19 and had only been working in the meat department for a couple weeks. I thought “Sure! this should be easy! cut it in four!” So i took out a big knife and took 2 big whacks at the chicken. One horizontal and one vertical. Thats it right?! Wrong.
After learning how to quarter a chicken from the pro’s I found after some practice, if you now where to cut you can quarter a chicken fast, easily and keep it looking pretty and retaining as much meat as possible.
I’m going to go through not only quartering a chicken but breaking it down entirely if your recipe calls for it
Step 1: Remove the Thighs
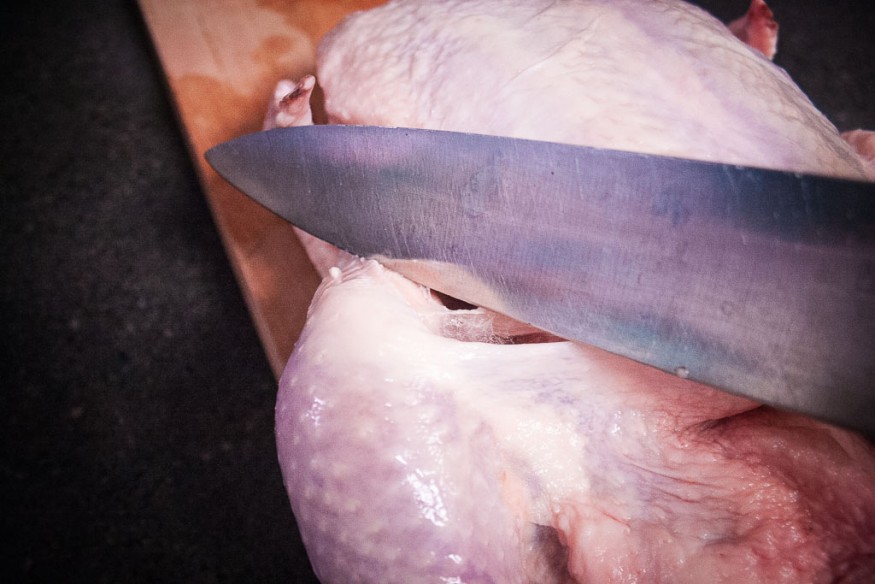
Position the chicken so it’s on it’s back and cavity is towards you. Take one of the legs and pull it away from the body, with your other hand, use a sharp knife and slice skin that is in between the body and the leg
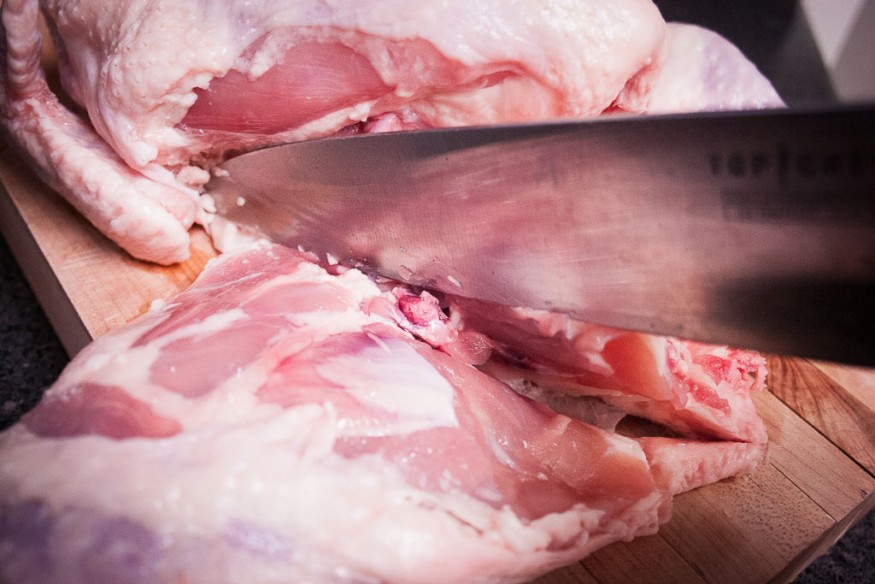
Begin to slice the mean that you expose and you’ll begin to see the hip socket. I like to wiggle the leg while doing this as it helps me find the socket easier.
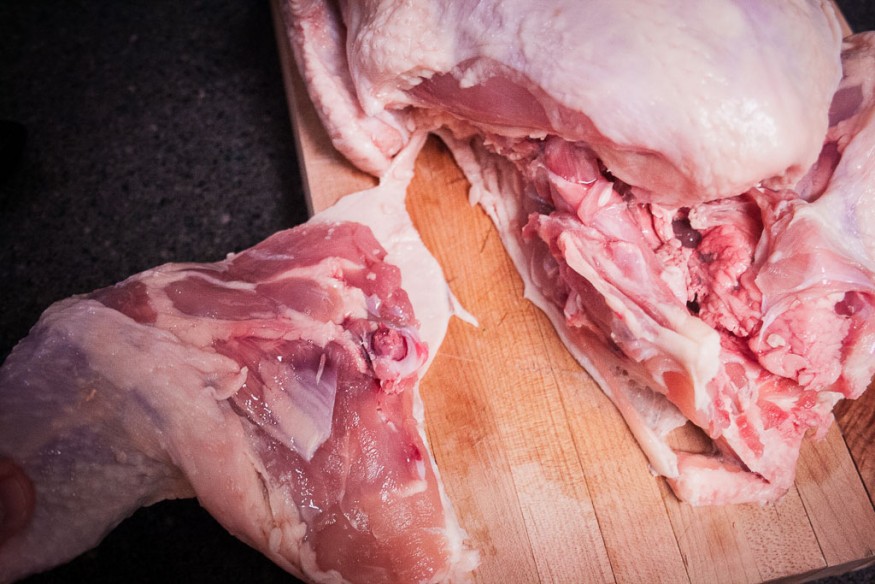
Work the knife in between the ball and socket of the leg and cut through, The goal is to get as much meat without actually cutting through bone.
Repeat with the other leg.
Step 2: Remove the Breast from the bone
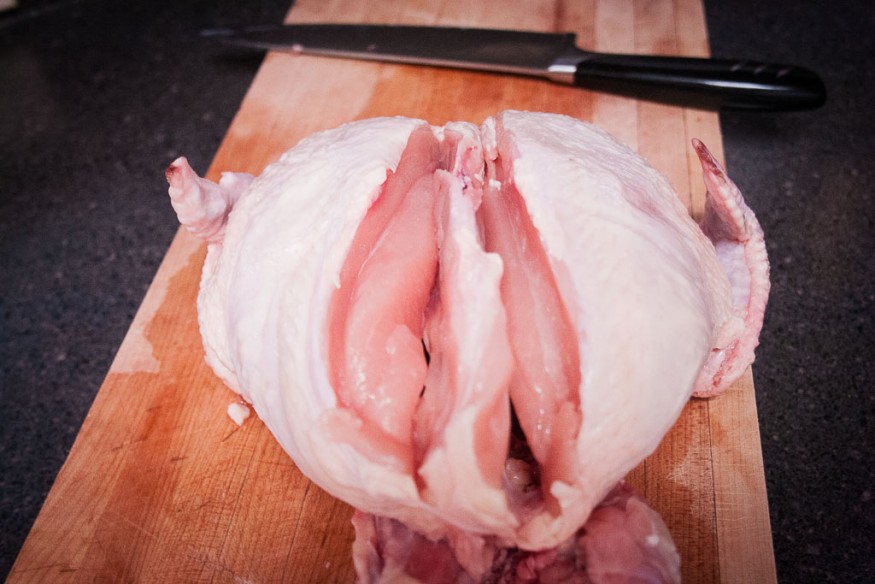
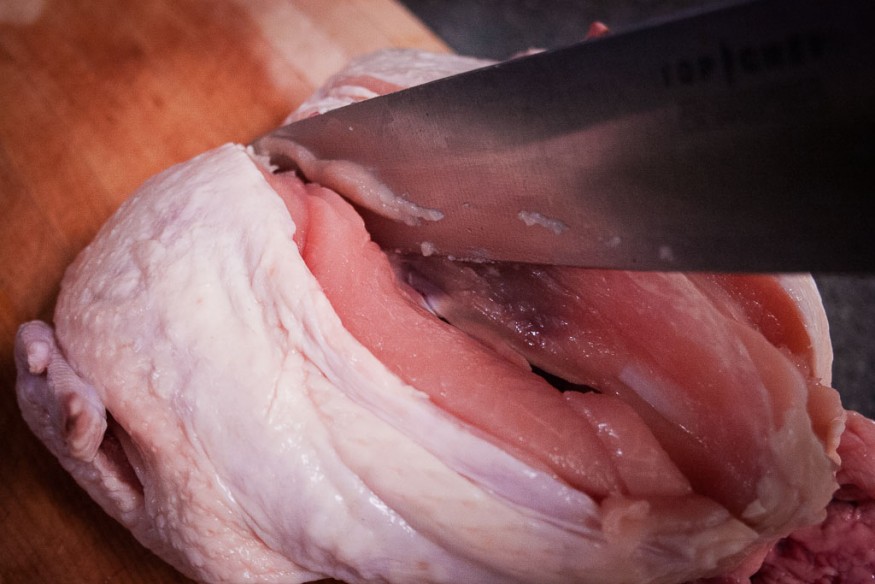
I rarely ever keep a breast with the bone in. I rather just take the breast off the bone from the start. On the top of the breast you’ll see a light line that goes down the breast. You’re going to cut around this and expose the center brebone.
Take your knife and on the side of the center bone you exposed, angle it at about 45 degrees and cut along side the bone as you cut through the chicken breast
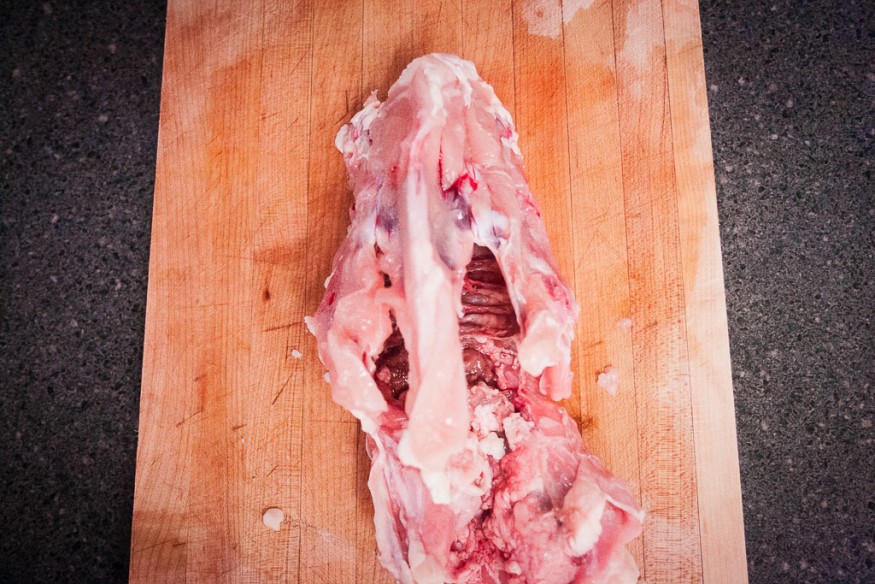
You might run into some small rib bones, if you do cut around. if you cut through no big deal just remember to remove it afterwards. repeat on both sites and you should now have the back of the bird left. keep this if you want to make a home made chicken stock (more on that later) or toss.
Gongrats! You’ve successfully quartered a chicken! You should now have 2 pairs of leg and breast pieces:
I rarely use chicken in this form, so let's break it down a little more.
Remove the Wings
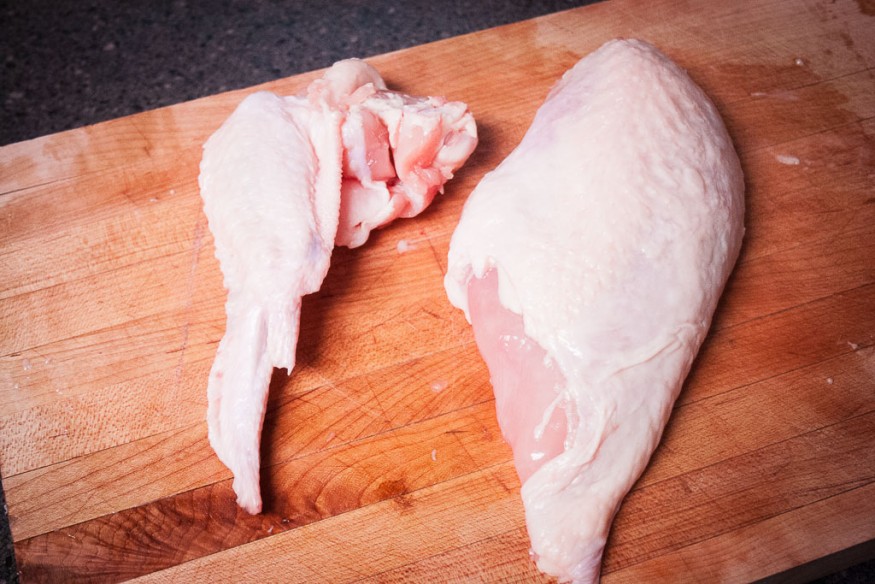
Similar to the thighs you’re going to pull the wing back and run the knife in between the wing and the breast. Disconnect the wing bone from the socket the same way you did with the thigh.
Unless you’re planning breaking down 20 chickens, save these will work great for a party tray of wings! Otherwise toss this is the scrap pile for chicken broth.
Skin the breasts
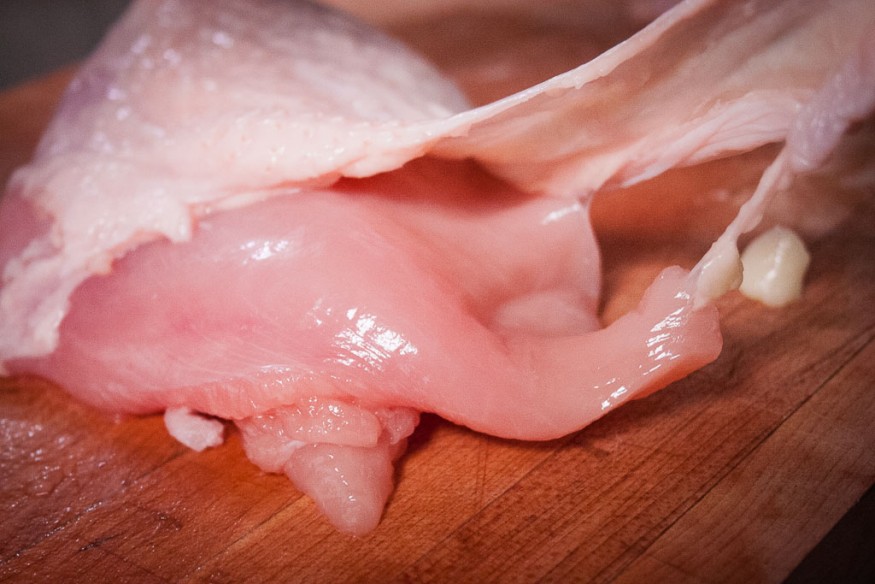
This is pretty simple, there’s only one piece of connective tissue that connects the skin to the breast.
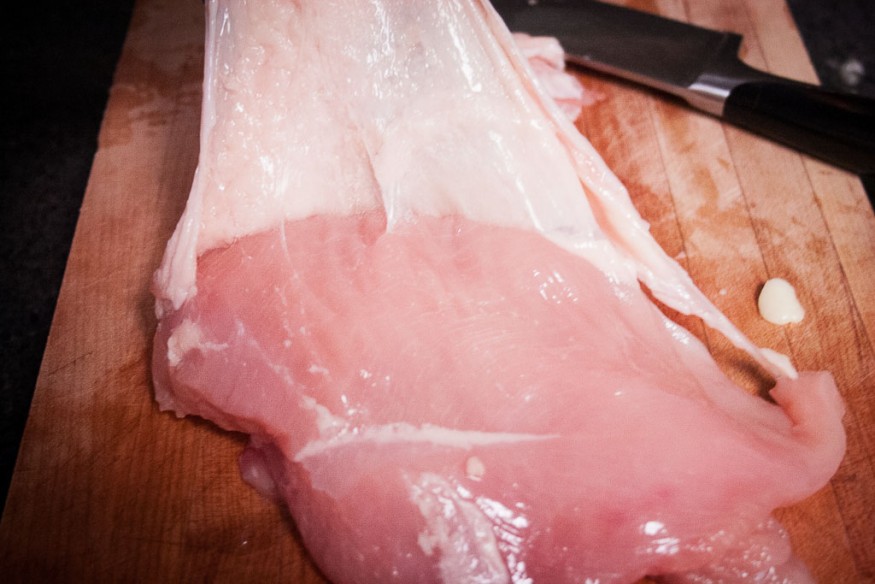
run your finger under the skin and pull back the skin. Take your knife and slice the connective tissue to remove the rest of the skin
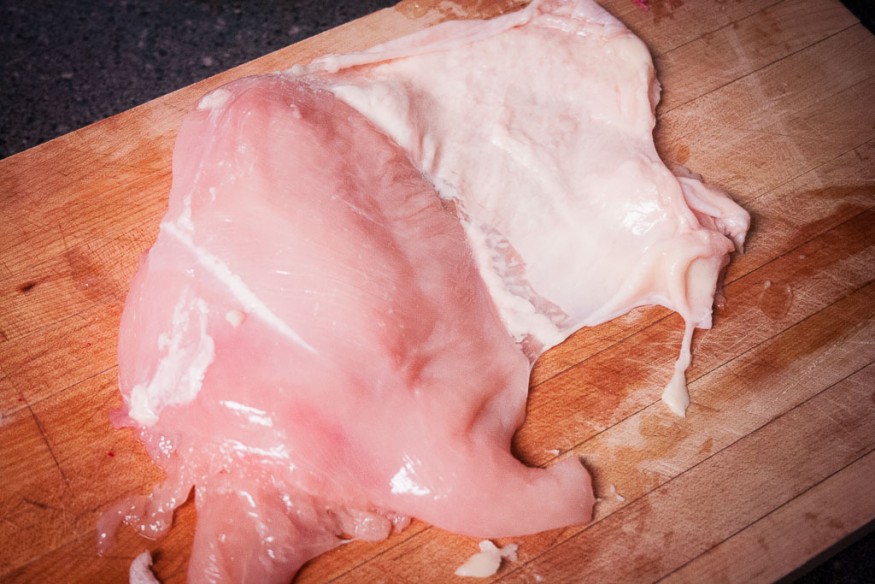
Pull the skin to the side then slice it off with your knife.
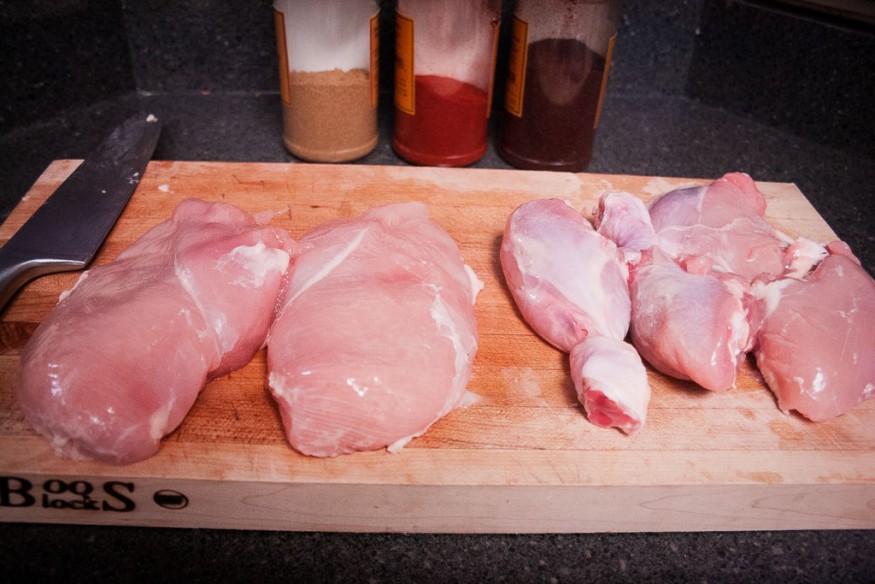
Repeat with the other and you have 2 nicely boneless, skinless chicken breasts!
Skinning the Leg
Unless you have a need to skin the leg meat I rarely do I wouldn’t waste the effort, but if you need to here’s what you do.
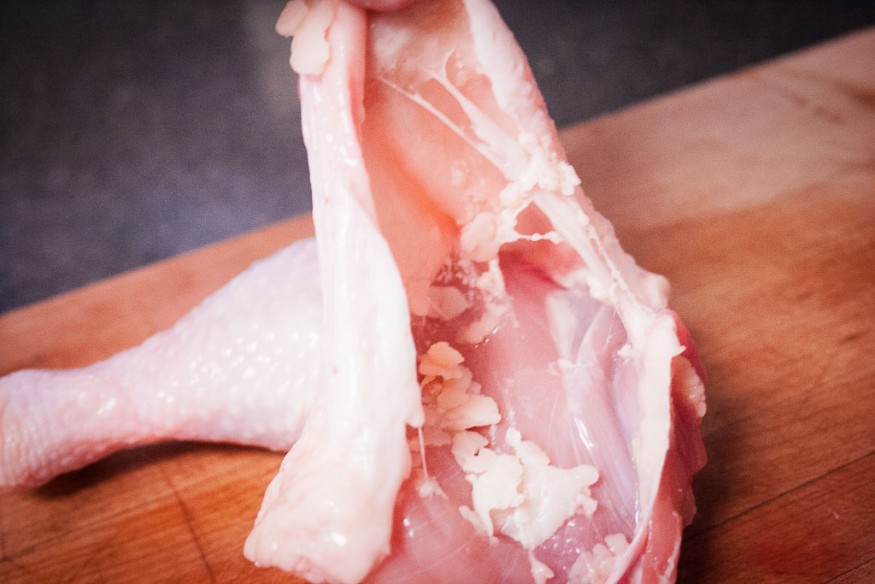
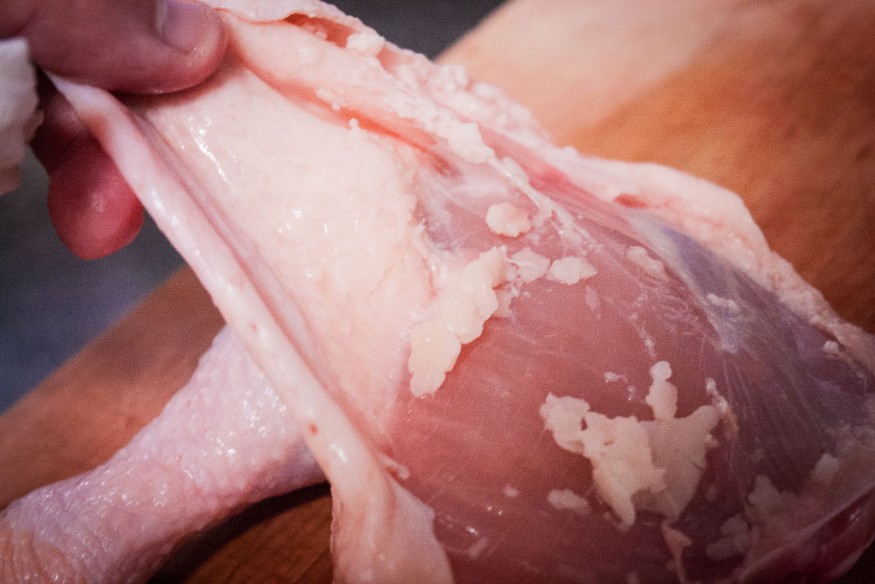
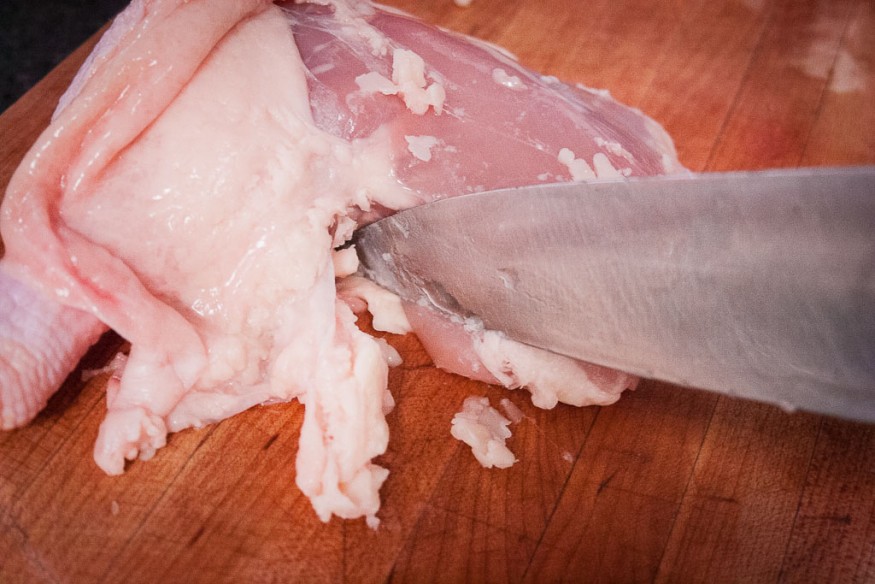
Pull the skin back from the thigh and separate the connective tissue with you knife
Get your fingers in there and pull the skin off, use your knife to keep separating any connective tissue.
and more connective tissue..
Note
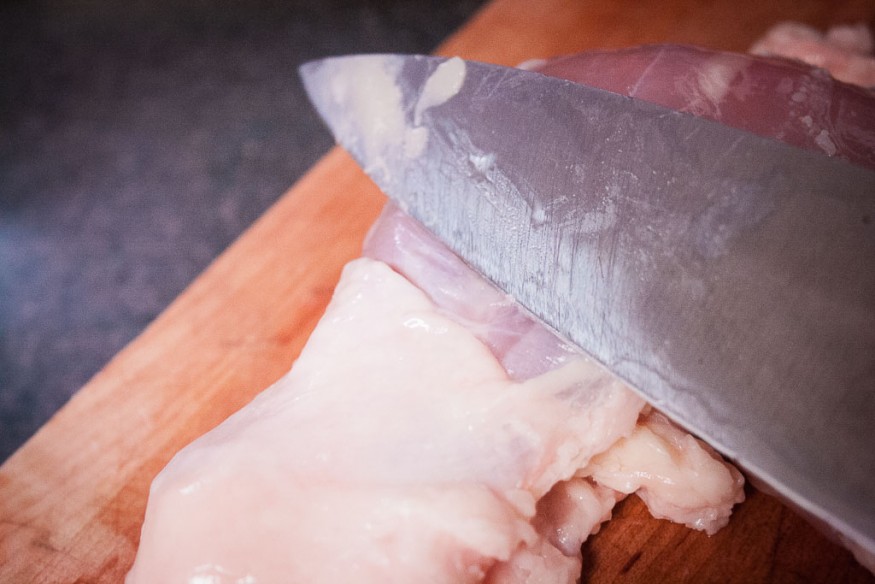
Peel the skin as far back as you can get it. I use my knife to help it along .
cut the remaining skin off the bone
Repeat with the other leg and you’ll have 2 skinless leg pieces!
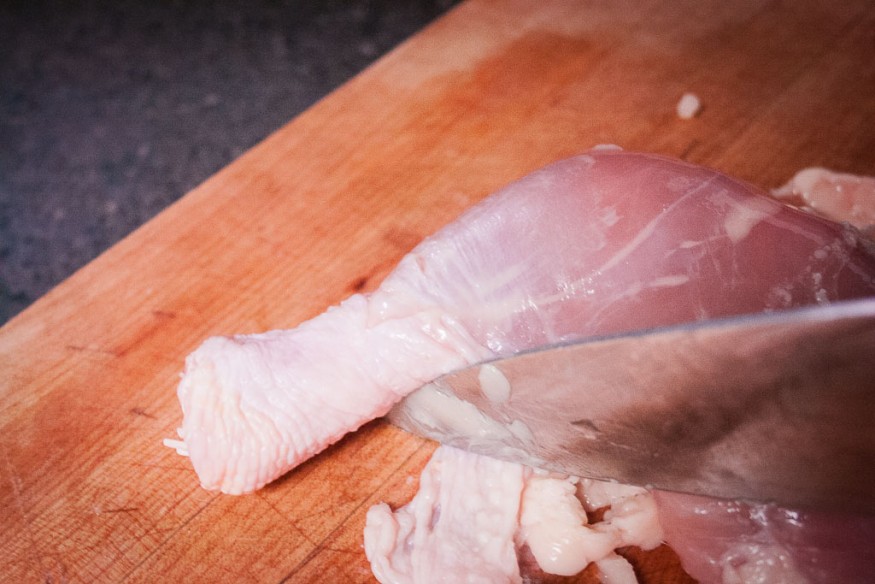
Separate the Drumstick and Thigh
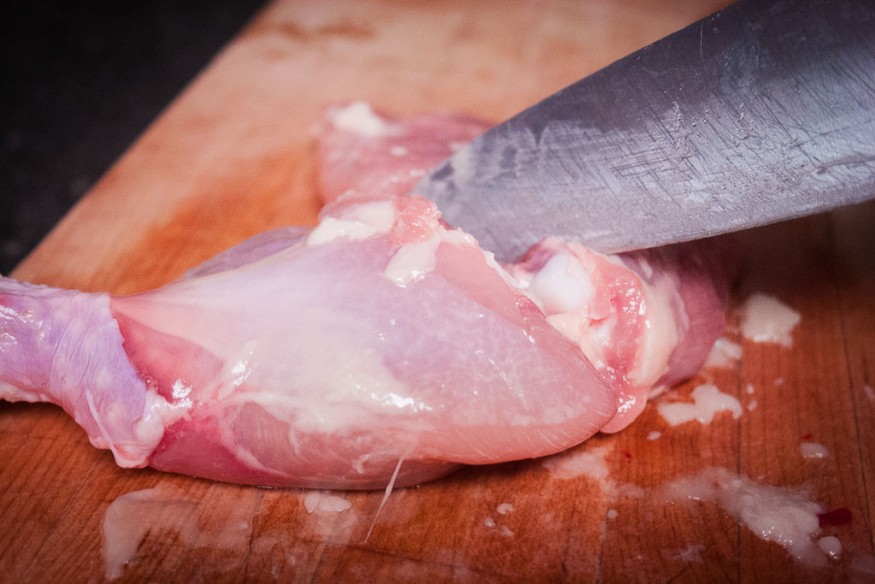
Again, like the thigh, and the wing, you’re running the knife in between the joints and separating the bone from each other. Keep from just chopping through the bone. It dulls your knife faster, and it takes way more effort.
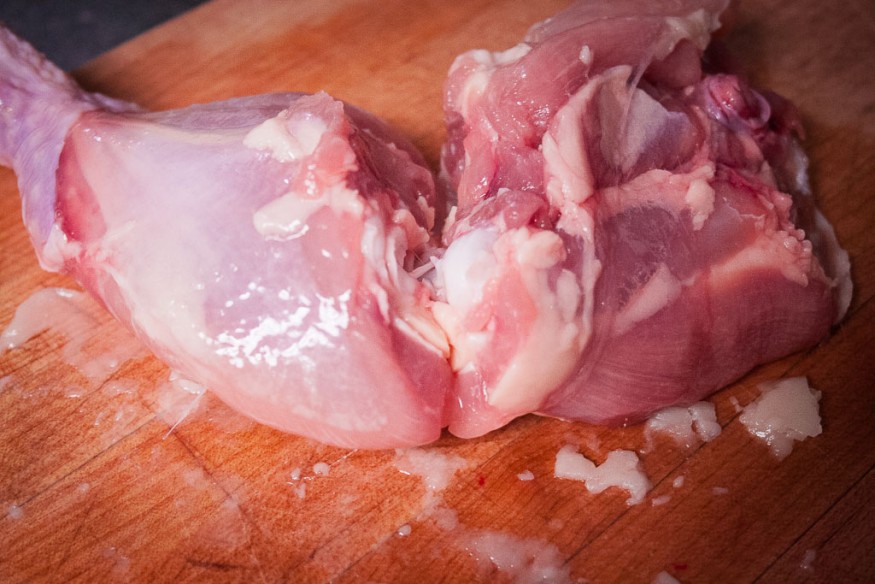
cut around the socket all around the leg, working the knife in between the socket
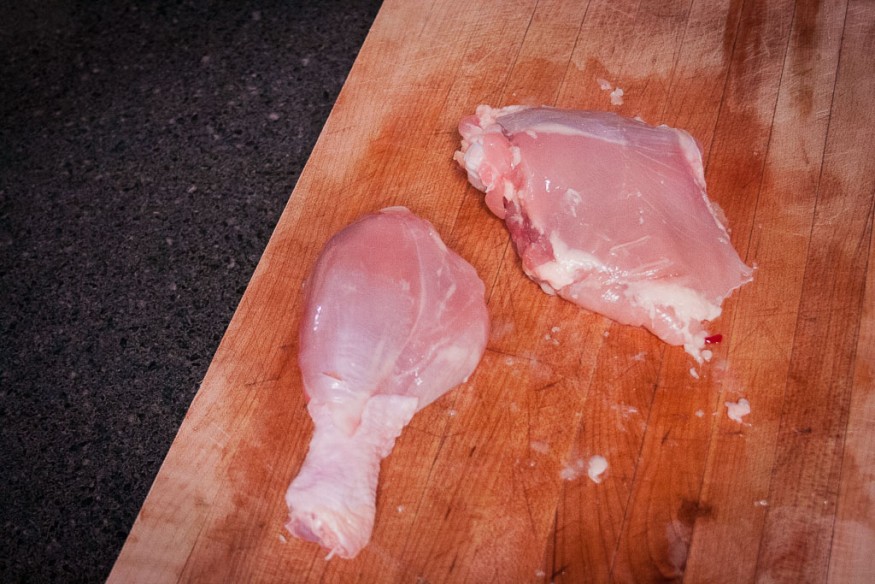
and voila! separated!
All done! A broken down chicken!
Once you get the hang of this you’ll become a pro and break a chicken down in around 10 minutes. Yeah it takes a little time and can get messy. But in the long run, you’ll save a lot of money, and probably know the anatomy of a chicken a lot more intimately than you’d ever expect to!
